

DIY Baby Passport Photos: Home Photography Guide
Learn how to take perfect passport photos for babies and children at home with our expert tips and AI tools. Save time and avoid rejections!
Passport photos for babies and young children can be a challenging endeavor for parents. Between strict government requirements and the unpredictable nature of kids, what should be a simple task often becomes a frustrating experience. However, with the right preparation, techniques, and tools like id-photo.ai, you can successfully capture perfect passport photos at home, saving time and money while avoiding the stress of studio visits.
Why Taking Children’s Passport Photos at Home Makes Sense
Taking passport photos at home offers several advantages when dealing with babies and young children:
- Familiar Environment: Children are more comfortable and cooperative in their own space
- Flexible Timing: You can work around nap times, feeding schedules, and mood swings
- Multiple Attempts: No pressure from waiting customers or time constraints
- Cost Savings: Avoid professional photography fees, especially if multiple attempts are needed
- Immediate Results: See results instantly and retake if necessary
Understanding Official Requirements for Children’s Passport Photos
General Requirements for All Ages
All passport photos, regardless of age, must meet these basic requirements:
- Size: 35 × 45 mm (width × height)
- Color photograph taken within the last 6 months
- Plain white, cream, or light grey background
- Head size: 31-36 mm from the bottom of the chin to the top of the head
- Neutral expression or natural smile
- Both eyes open and visible
- No shadows on face or background
Special Considerations for Babies and Children
Swedish authorities recognize that photographing children presents unique challenges and allows some flexibility:
- For infants: Eyes don’t need to be open if the child is naturally sleeping
- Head support: A parent’s hand may be visible if necessary for support, but should be minimized
- Expression: Natural expressions are acceptable; forced smiles are not required
- Positioning: The child should be looking directly at the camera when possible
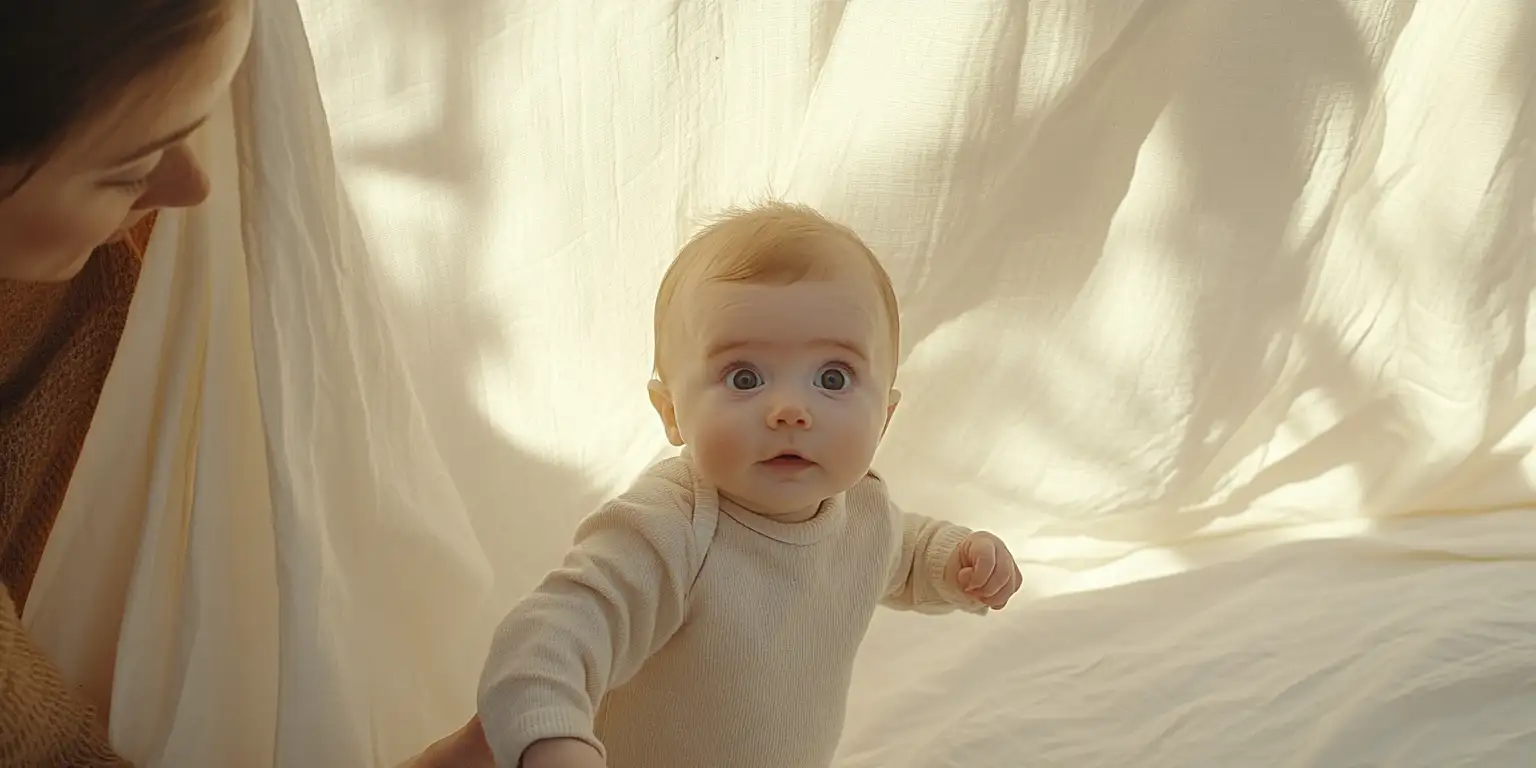
- Background assistance: A parent may hold a white sheet behind the child if needed
Essential Equipment for Taking Passport Photos at Home
You don’t need professional equipment, but having the right tools helps:
- Camera or smartphone: For high-quality images
- White background: White sheet, paper, or cardboard
- Good lighting: Soft, natural light from a window
- Support for the child: White blanket or pillow for comfort
- Patience: Child photography requires time and flexibility
Preparation Before Photography
- Choose the right time: Photograph when the child is calm and alert
- Prepare the environment: Create a calm, well-lit space
- Have help: Ask a family member or friend to assist
- Test run first: Take some practice photos before the official one
Step-by-Step Guide for Taking Baby Passport Photos
Step 1: Prepare the Child and Environment
- Dress the child in neutral clothing that contrasts with the white background
- Ensure the child is comfortable and not hungry or tired
- Prepare a white surface where the child can lie or sit
- Adjust lighting to be soft and even
Step 2: Position the Child Correctly
- For babies: Have the child lie on their back on a white blanket
- For toddlers: Have the child sit or lie on a white surface
- Ensure the entire head is visible in the frame
- Hold the child steady but naturally
Step 3: Capture the Right Eye Contact and Expression
- Try to get the child to look toward the camera
- Accept natural expressions - forced smiles are not required
- For babies, open eyes are preferred but closed eyes are acceptable if sleeping naturally
- Take multiple photos from different angles
Step 4: Adjust Technical Aspects
- Use correct zoom to get the right head size
- Ensure the background is even and without shadows
- Check that lighting is soft and doesn’t create glare
- Use AI tools like id-photo.ai to verify quality
Common Challenges and Solutions
Challenge: Child Moves Too Much
Solution: Photograph when the child is calm, use short sessions, and take many photos to choose from.
Challenge: Getting the Right Background
Solution: Use a white blanket behind the child or have the child lie on a white surface.
Challenge: Child Cries or Is Fussy
Solution: Take breaks, sing, or use toys to distract the child.
Challenge: Parent Shows in the Photo
Solution: Minimize the parent’s presence or use a white glove for support.
Techniques for Different Age Groups
Babies (0-6 months)
- Photograph lying on a white blanket
- Accept closed eyes if the child sleeps naturally
- Keep the child warm and comfortable
- Use soft, indirect lighting
Toddlers (6-24 months)
- Have the child sit or lie on a white surface
- Use toys to hold attention
- Be patient with natural expressions
- Photograph from eye level
Young Children (2-5 years)
- Explain the process in simple terms
- Let the child be involved in the process
- Use games to make it fun
- Reward good behavior
Safety Considerations
- Always keep an eye on the child during photography
- Avoid leaving the child alone near camera equipment
- Ensure all cords and equipment are out of reach
- Work in a safe, stable environment
Using AI Technology for Better Results
Id-photo.ai offers special features for child photos:
- Automatic background replacement: Removes unwanted backgrounds
- Head size adjustment: Ensures correct proportions
- Face detection: Helps with framing and focus
- Quality verification: Checks against Swedish requirements
When to Seek Professional Help
Some situations require professional photography:
- The child has special needs or medical conditions
- You’ve tried multiple times without success
- The child has unusual physical features
- You need the photo quickly and have limited time
Final Checklist Before Submission
Before submitting the passport application:
- Verify the photo meets all Swedish requirements
- Ensure the child looks natural
- Confirm the background is correct
- Check that image quality is sufficient
- Save multiple versions if possible
Conclusion
Taking passport photos for babies and children at home requires patience, correct technique, and the right tools. With preparation and the right strategy, you can create high-quality photos that meet all Swedish authority requirements. Remember that natural expressions and comfortable environments often produce the best results.
By using modern tools like id-photo.ai, you can simplify the process further and ensure your children’s passport photos are approved on the first try.
Ready to create your passport photo?
Get your perfect passport photo in minutes with our AI-powered tool. Create Photo Now