

DIY Baby Passport Photos: Home Photography Guide
Learn how to take perfect passport photos for babies and children at home with our expert tips and AI tools. Save time and avoid rejections!
Passport photos for babies and young children can be a challenging endeavor for parents. Between strict Danish government requirements and the unpredictable nature of kids, what should be a simple task often becomes a frustrating experience. However, with the right preparation, techniques, and tools like id-photo.ai, you can successfully capture perfect passport photos at home, saving time and money while avoiding the stress of studio visits.
Why Taking Children’s Passport Photos at Home Makes Sense
Taking passport photos at home offers several advantages when dealing with babies and young children:
- Familiar Environment: Children are more comfortable and cooperative in their own space
- Flexible Timing: You can work around nap times, feeding schedules, and mood swings
- Multiple Attempts: No pressure from waiting customers or time constraints
- Cost Savings: Avoid professional photography fees, especially if multiple attempts are needed
- Immediate Results: See results instantly and retake if necessary
Understanding Official Requirements for Children’s Passport Photos
General Requirements for All Ages
All passport photos, regardless of age, must meet these basic requirements:
- Size: 35 × 45 mm
- Color photograph taken within the last 6 months
- Plain gray background
- Head size: 34.5 mm from the bottom of your chin to the top of your hair
- Neutral expression or natural smile
- Both eyes open and visible
- No shadows on face or background
Special Considerations for Babies and Children
The Danish Ministry of Foreign Affairs recognizes that photographing children presents unique challenges and allows some flexibility:
- For infants: Eyes don’t need to be open if the child is naturally sleeping
- Head support: A parent’s hand may be visible if necessary for support, but should be minimized
- Expression: Natural expressions are acceptable; forced smiles are not required
- Positioning: The child should be looking directly at the camera when possible
- Background assistance: A parent may hold a gray sheet behind the child if needed
Essential Equipment for Taking Passport Photos at Home
You don’t need professional equipment, but having the right tools helps:
- Smartphone or digital camera: With good resolution and manual focus capability
- Tripod or stable surface: To keep the camera steady
- Lighting setup: Natural or soft lighting sources
- Gray background: Plain sheet or paper
- Patience and treats: To keep the child calm and happy
Step-by-Step Guide to Taking Perfect Children’s Passport Photos
Preparation Before Photography
Planning is key to success with children’s passport photos:
- Choose the right time: Take the photo when the child is most relaxed and in a good mood
- Set up equipment: Make sure everything is ready so you don’t need to leave the child
- Practice first: Take some test photos without pressure
- Get help: Have another person assist with holding the child or background
Setting Up the Photography Area
Create the perfect environment for children’s photography:
- Lighting: Use natural light from a window; avoid direct sunlight
- Background: Use a large gray sheet or paper; ensure it’s smooth and shadow-free
- Position: Place the camera at eye level with the child
- Safety: Ensure the child is secure and comfortable throughout the process
Photography Techniques for Different Ages
Infants (0-6 months)
Photographing infants requires extra care:
- Sleeping babies: Take the photo while the child sleeps naturally to ensure open eyes
- Support: Use a baby bouncer or pillow to support the child
- Close distance: Get close to capture details without disturbing the child
- Quick capture: Be ready to take the photo quickly
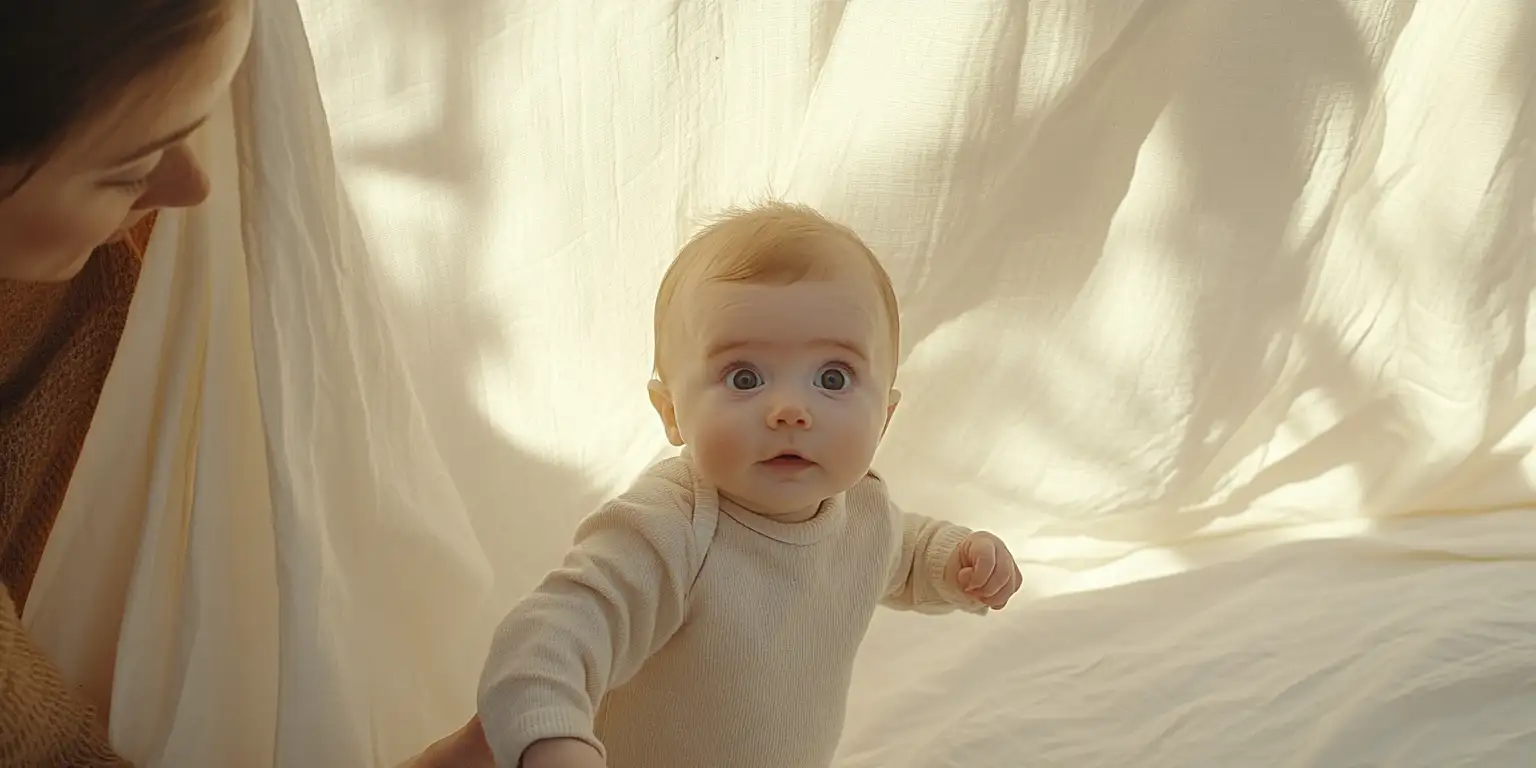
Young Children (6-24 months)
This age is often the most challenging:
- Movement: Expect the child to move; take many photos
- Play: Make it a game to keep the child engaged
- Help: Have someone entertain the child
- From above: Photograph from above for the best perspective
Older Children (2+ years)
Larger children are often easier to photograph:
- Explain the process: Tell the child what’s happening
- Make it fun: Use fun props or stories
- Reward success: Praise good cooperation
- Be patient: Allow breaks if the child gets tired
Common Challenges and Solutions
Motion Blur
Children move – that’s a fact:
- Fast shutter speed: Use settings for faster capture
- Burst mode: Take multiple photos in quick succession
- Stabilization: Use a tripod to reduce camera shake
- Help: Have someone entertain the child
Expression Issues
Getting the right expression can be tricky:
- Wait for the right moment: Wait for natural smiles or neutral expressions
- Distract: Use toys or sounds to create natural reactions
- Take many: You can choose the best photo later
- Be realistic: Natural expressions are acceptable
Background Issues
Maintaining a clean background is important:
- Larger background: Use a large sheet that covers the entire area
- Help: Have someone hold the background in place
- Position correctly: Place the child far enough from the background
- Check after: Look for shadows or wrinkles in post-processing
Using AI Tools for Children’s Passport Photos
Modern technology makes children’s passport photos much easier:
id-photo.ai for Children’s Passport Photos
Our AI-powered tool is particularly useful for photographing children:
- Automatic detection: Recognizes and corrects common problems
- Child-specific adjustments: Optimized for small faces and natural expressions
- Instant feedback: See results immediately
- Danish standards: Specifically calibrated for Danish authority requirements
- Easy editing: Adjust background and size with one click
Post-Processing and Verification
After taking the photo:
- Review photos: Select the best photo with correct expression and positioning
- Use AI tool: Upload to id-photo.ai for automatic correction
- Check requirements: Verify all Danish standards are met
- Print: Use high-quality paper and printer
- Backup: Save digital copies for future use
Tips for Parents: Making the Process More Fun
- Make it a game: Use fun props and stories
- Involve the child: Let the child help choose the best photo
- Reward success: Praise good cooperation
- Be patient: Remember that the process should be fun for everyone
Conclusion
Taking passport photos of babies and children doesn’t have to be stressful. With proper preparation, techniques, and tools like id-photo.ai, you can achieve professional results at home. Patience, planning, and the right tool are the keys to success. By following these steps, you can ensure your children’s passport photos meet all Danish requirements and avoid unnecessary delays in your application process.
Ready to create your child’s passport photo?
Get perfect passport photos for your children in minutes with our AI-powered tool. Create Photo Now