
DIY Baby Passport Photos: Home Photography Guide for Australia
Learn how to take perfect passport photos for babies and children at home with our expert tips and AI tools. Save time and avoid rejections!
Passport photos for babies and young children can be a challenging endeavor for Australian parents. Between strict government requirements and the unpredictable nature of kids, what should be a simple task often becomes a frustrating experience. However, with the right preparation, techniques, and tools like id-photo.ai, you can successfully capture perfect passport photos at home, saving time and money while avoiding the stress of studio visits.
Why Taking Children’s Passport Photos at Home Makes Sense
Taking passport photos at home offers several advantages when dealing with babies and young children:
- Familiar Environment: Children are more comfortable and cooperative in their own space
- Flexible Timing: You can work around nap times, feeding schedules, and mood swings
- Multiple Attempts: No pressure from waiting customers or time constraints
- Cost Savings: Avoid professional photography fees, especially if multiple attempts are needed
- Immediate Results: See results instantly and retake if necessary
Understanding Official Requirements for Children’s Passport Photos
General Requirements for All Ages
All passport photos, regardless of age, must meet Australian Passport Office requirements:
- Size: 35 x 45 mm (1.37 x 1.77 inches)
- Color photograph taken within the last 6 months
- Plain grey background
- Head size: 32 x 36 mm (1.25 x 1.41 inches) from crown to chin
- Neutral expression
- Eyes open and clearly visible
- Mouth closed (except for children under 3)
- Hair off the face
- No shadows on face or background
- No reflections from piercings or accessories
Special Considerations for Babies and Children
The Australian Passport Office recognizes that photographing children presents unique challenges and allows some flexibility:
- For infants: Eyes don’t need to be open if the child is naturally sleeping
- Head support: A parent’s hand may be visible if necessary for support, but should be minimized
- Expression: Natural expressions are acceptable; forced smiles are not required
- Positioning: The child should be looking directly at the camera when possible
- Background assistance: A parent may hold a grey sheet behind the child if needed
- No toys or objects: Keep the background completely clear
Essential Equipment for Taking Passport Photos at Home
You don’t need professional equipment, but having the right tools helps:
- Camera: A smartphone with a good camera or digital camera
- Tripod or stable surface: To prevent camera shake
- Grey background: A grey wall, sheet, or poster board
- Good lighting: Natural light from a window or soft indoor lighting
- Assistant: Another adult to help position and entertain the child
- Props for distraction: Toys, sounds, or games to capture attention
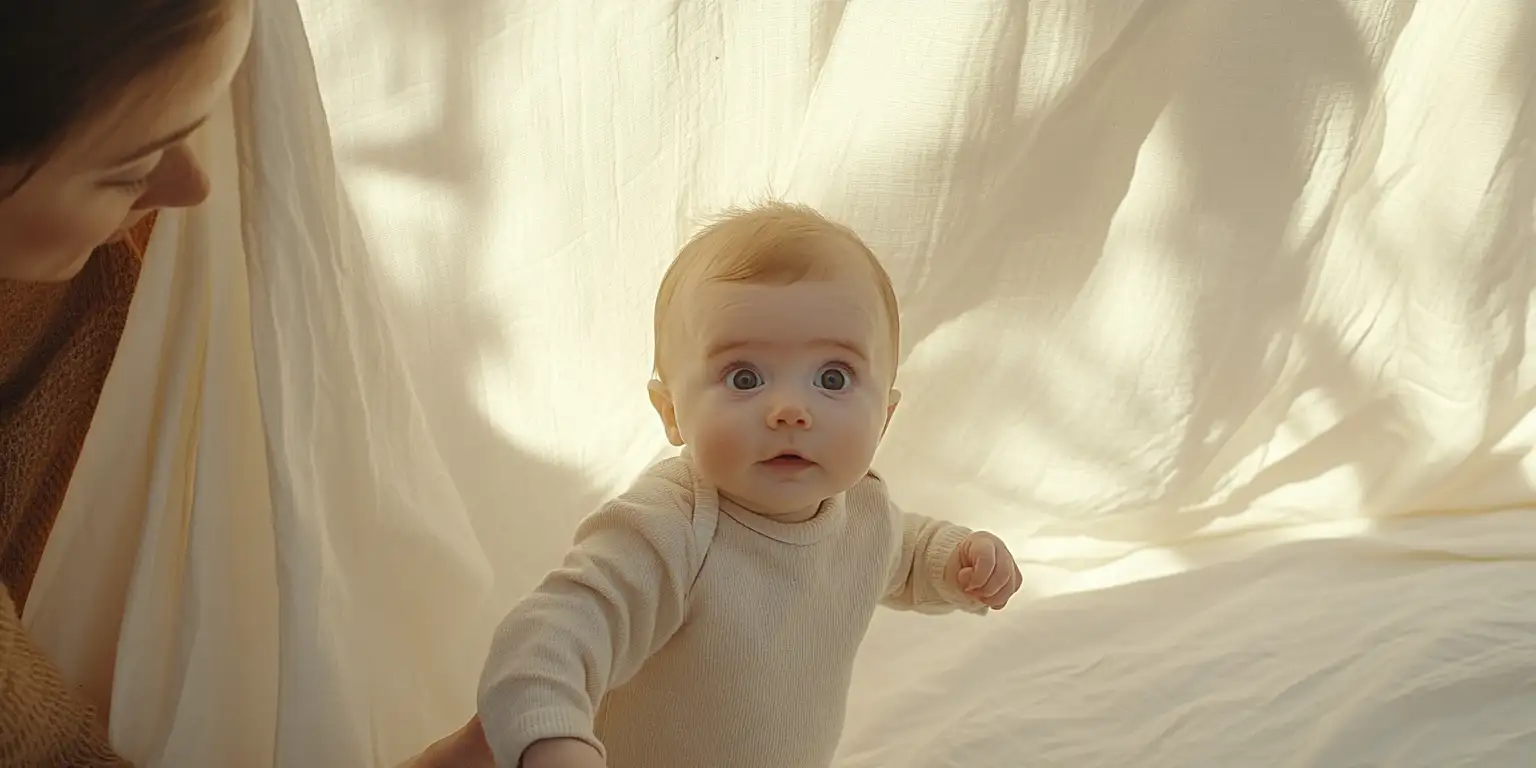
Step-by-Step Guide to Photographing Babies (0-12 months)
1. Choose the Right Timing
- Schedule during the baby’s alert and happy periods
- Avoid times when they’re hungry, tired, or fussy
- Consider photographing after feeding when they’re content
2. Set Up Your Background
- Use a plain grey wall or hang a grey sheet
- Ensure the background is evenly lit with no shadows
- Position the baby close enough to fill the frame but far enough to avoid shadows
3. Position Your Baby Correctly
- Lying down method: Place baby on a grey blanket or sheet, photograph from above
- Sitting method: Support baby in a high chair or car seat with grey background
- Held method: Have someone hold the baby while staying out of frame
4. Remove Distractions
- Keep the area clear of toys, patterns, or other objects
- Ensure no part of the parent or support person is visible
- Remove hats, headbands, or other accessories unless for religious reasons
5. Capture Attention and Expression
- Use gentle sounds, toys, or voices to get the baby to look at camera
- Aim for a natural, relaxed expression
- Don’t worry about forcing a smile - neutral expressions are perfectly acceptable
6. Take Multiple Photos
- Capture many shots to increase chances of getting the perfect one
- Vary angles slightly to find the best head positioning
- Be patient and ready for the right moment
Photographing Toddlers and Young Children (1-5 years)
1. Explain the Process
- Use simple language to explain what you’re doing
- Make it sound fun: “We’re taking a special picture!”
- Show them the camera and let them see themselves on the screen
2. Create a Proper Setup
- Have child sit or stand against grey background
- Ensure they’re at the right height for proper framing
- Use a chair or stool if needed to get them at camera level
3. Use Simple Instructions
- “Look at the camera” or “Look at mummy/daddy”
- “Stand up tall like a superhero”
- “Show me your listening face” (for neutral expression)
4. Make It Quick and Fun
- Work quickly once you have their attention
- Use games, songs, or silly sounds to maintain engagement
- Take breaks if the child becomes frustrated
5. Timing Is Everything
- Choose times when the child is well-rested and fed
- Avoid times close to nap time or meal time
- Consider their natural rhythm and energy levels
6. Be Ready for Quick Opportunities
- Have your camera ready and settings adjusted
- Be prepared to capture the moment when everything aligns
- Don’t hesitate to take multiple shots in quick succession
Common Challenges and Solutions
For Babies:
- Won’t look at camera: Use sounds, rattles, or have someone call their name from behind the camera
- Crying or fussy: Take breaks, try different times of day, ensure basic needs are met
- Head positioning: Use gentle support to keep head straight and centered
- Eyes closed: For sleeping babies, this may be acceptable; for awake babies, try gentle stimulation
For Toddlers:
- Won’t sit still: Use favorite toys or snacks as motivation (remove before photo)
- Wrong expression: Practice “photo face” beforehand, use games to elicit natural expressions
- Looking away: Have assistant make interesting sounds from behind camera
- Tantrums: Take breaks, try again later, don’t force the session
How id-photo.ai Simplifies the Process
Technology can significantly simplify the process of creating compliant passport photos for children. id-photo.ai offers specific advantages for parents:
- Automatic Compliance Checking: The AI analyzes photos against official Australian requirements, focusing on elements particularly challenging with children’s photos
- Positioning Correction: Minor positioning issues can be automatically adjusted, especially helpful with wiggly children
- Background Removal: Even if your background isn’t perfectly grey, the tool can detect and replace it
- Expression Analysis: The system can help identify photos with appropriate neutral expressions
- Size and Cropping Precision: Automatic cropping ensures the face is properly positioned and sized within the frame
- Multiple Country Standards: Support for different countries’ requirements if you’re applying for international passports
Using id-photo.ai, parents can simply upload their best attempts, and the system will transform them into compliant passport photos, highlighting any issues that need to be addressed with new photographs.
Final Tips for Success
- Be Patient: Accept that this might take multiple attempts across different days
- Check Results Carefully: Review the final photos against official Australian requirements before submission
- Prepare Extra Photos: Always have multiple copies printed or saved digitally in case of damage or loss
- Verify Recency: Remember that photos must typically be taken within the last six months, reflecting the child’s current appearance
- Consider Growth Spurts: For very young children who change rapidly, take photos closer to application submission time
Conclusion
Taking passport photos for babies and young children at home is entirely achievable with preparation, patience, and the right tools. The familiar environment and flexibility to work with your child’s schedule significantly increase your chances of success. With the added assistance of id-photo.ai’s technology to ensure compliance, parents can confidently create professional-quality passport photos without the stress and expense of studio visits.
By following the age-specific guidelines and tips outlined above, you’ll be well-equipped to capture passport photos that will be accepted by the Australian Passport Office, saving time and avoiding application delays. Remember that persistence pays off—sometimes the perfect passport photo happens when you least expect it!
Ready to create your passport photo?
Get your perfect passport photo in minutes with our AI-powered tool. Create Photo Now