
How to Take a Passport Photo at Home in Australia
Capture the perfect Australian passport photo at home using just your smartphone. Follow our clear steps on lighting, background, and framing.
Taking your Australian passport photo at home is simpler than you might think. With just your smartphone and a few essential guidelines, you can quickly achieve professional-quality results while saving time and money. Here’s a detailed step-by-step guide on capturing the perfect passport photo at home.
What You’ll Need
- A smartphone with a decent camera
- Good lighting (natural daylight is best)
- Plain grey background (as per Australian requirements)
- A tripod or steady place for your phone
- id-photo.ai to ensure your photo meets official Australian guidelines effortlessly
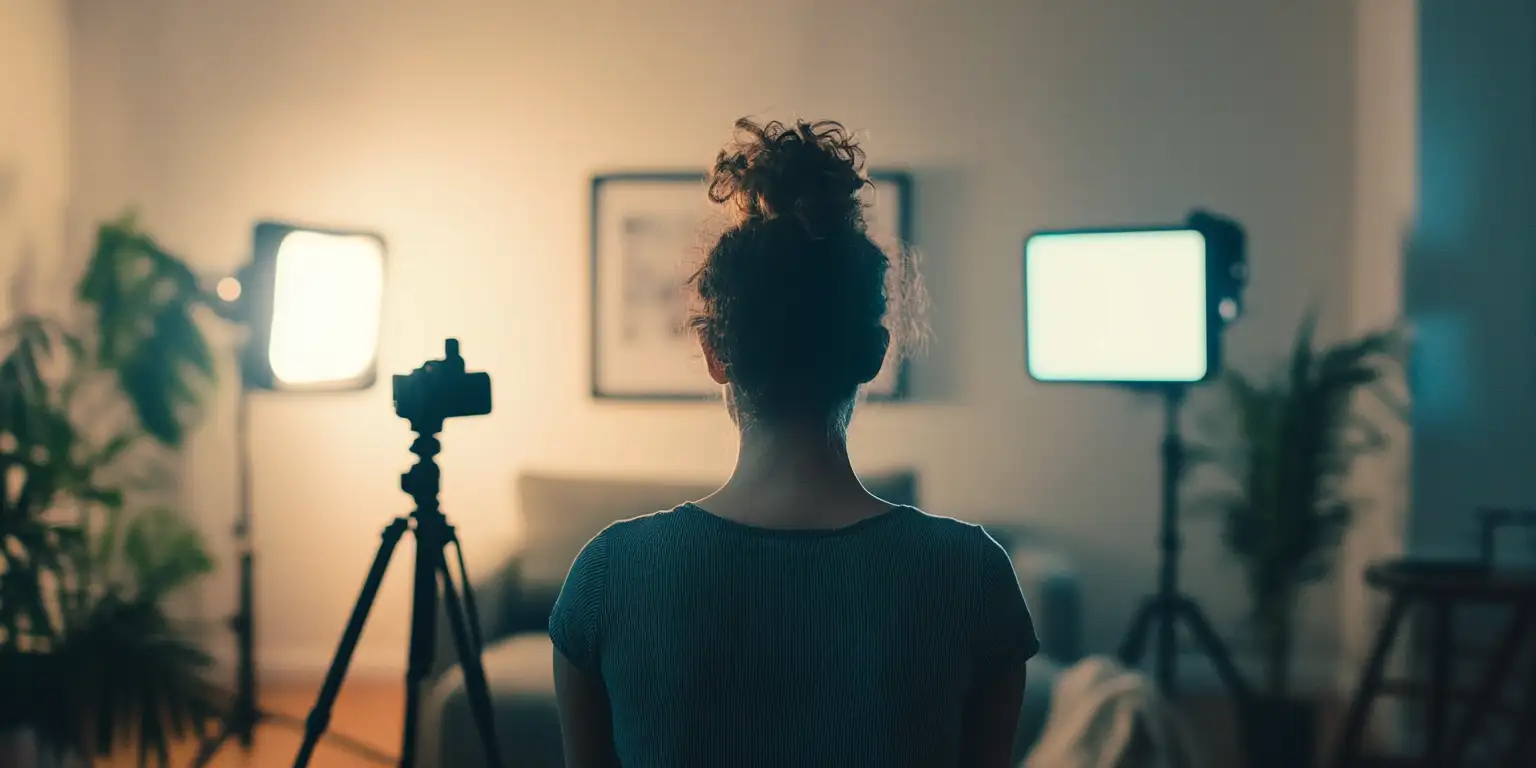
Step 1: Set Up the Perfect Lighting
Lighting is critical in achieving a professional-looking passport photo. Natural daylight is your best friend. Position yourself near a large window or an area filled with natural, indirect light. Avoid harsh shadows and direct sunlight to keep your face evenly lit.
Step 2: Choose an Appropriate Background
Australian passport photos require a plain grey background without any patterns or textures. A grey wall or large piece of grey cardboard can work perfectly. Ensure no shadows or other items appear in the frame, and maintain even lighting across the background.
Step 3: Positioning and Framing
Position your smartphone camera at eye level, ideally using a tripod or stabilizing the phone against a steady object. Stand straight and face directly into the camera, ensuring your shoulders and face fill most of the frame. Maintain a neutral expression, and ensure your entire face is clearly visible.
Step 4: Dress Appropriately
Wear everyday clothing with a clear contrast to the grey background. Avoid wearing clothing that might cause reflections. Prescription glasses are acceptable if they don’t produce glare.
Step 5: Capture the Photo
Use the rear camera of your smartphone, as it typically provides higher resolution than the front camera. Activate the timer or have someone else take the photo for better accuracy. Take several photos so you have multiple options to choose from.
Common Mistakes to Avoid
- Avoid shadows: Ensure your lighting doesn’t create harsh shadows on your face or the background.
- Incorrect framing: Make sure your face is centered and occupies the correct proportion of the frame.
- Improper facial expressions: Remember, a neutral expression is required. Avoid smiling, frowning, or squinting.
- Reflections: Watch for glare from glasses or facial piercings.
Simplify Your Passport Photo Process with id-photo.ai
Even after following the guidelines, editing and cropping your photo to meet official requirements can be challenging. This is where id-photo.ai steps in, streamlining the process by automatically cropping, adjusting, and verifying your photo according to Australian passport standards. Simply upload your photo, and the tool handles the rest, ensuring compliance and saving you valuable time.
Conclusion
Taking Australian passport photos at home with your smartphone is convenient, cost-effective, and straightforward. Follow the outlined steps carefully, avoid common pitfalls, and leverage id-photo.ai for a smooth experience that guarantees your passport photo is ready for submission.
Ready to create your passport photo?
Get your perfect passport photo in minutes with our AI-powered tool. Create Photo Now